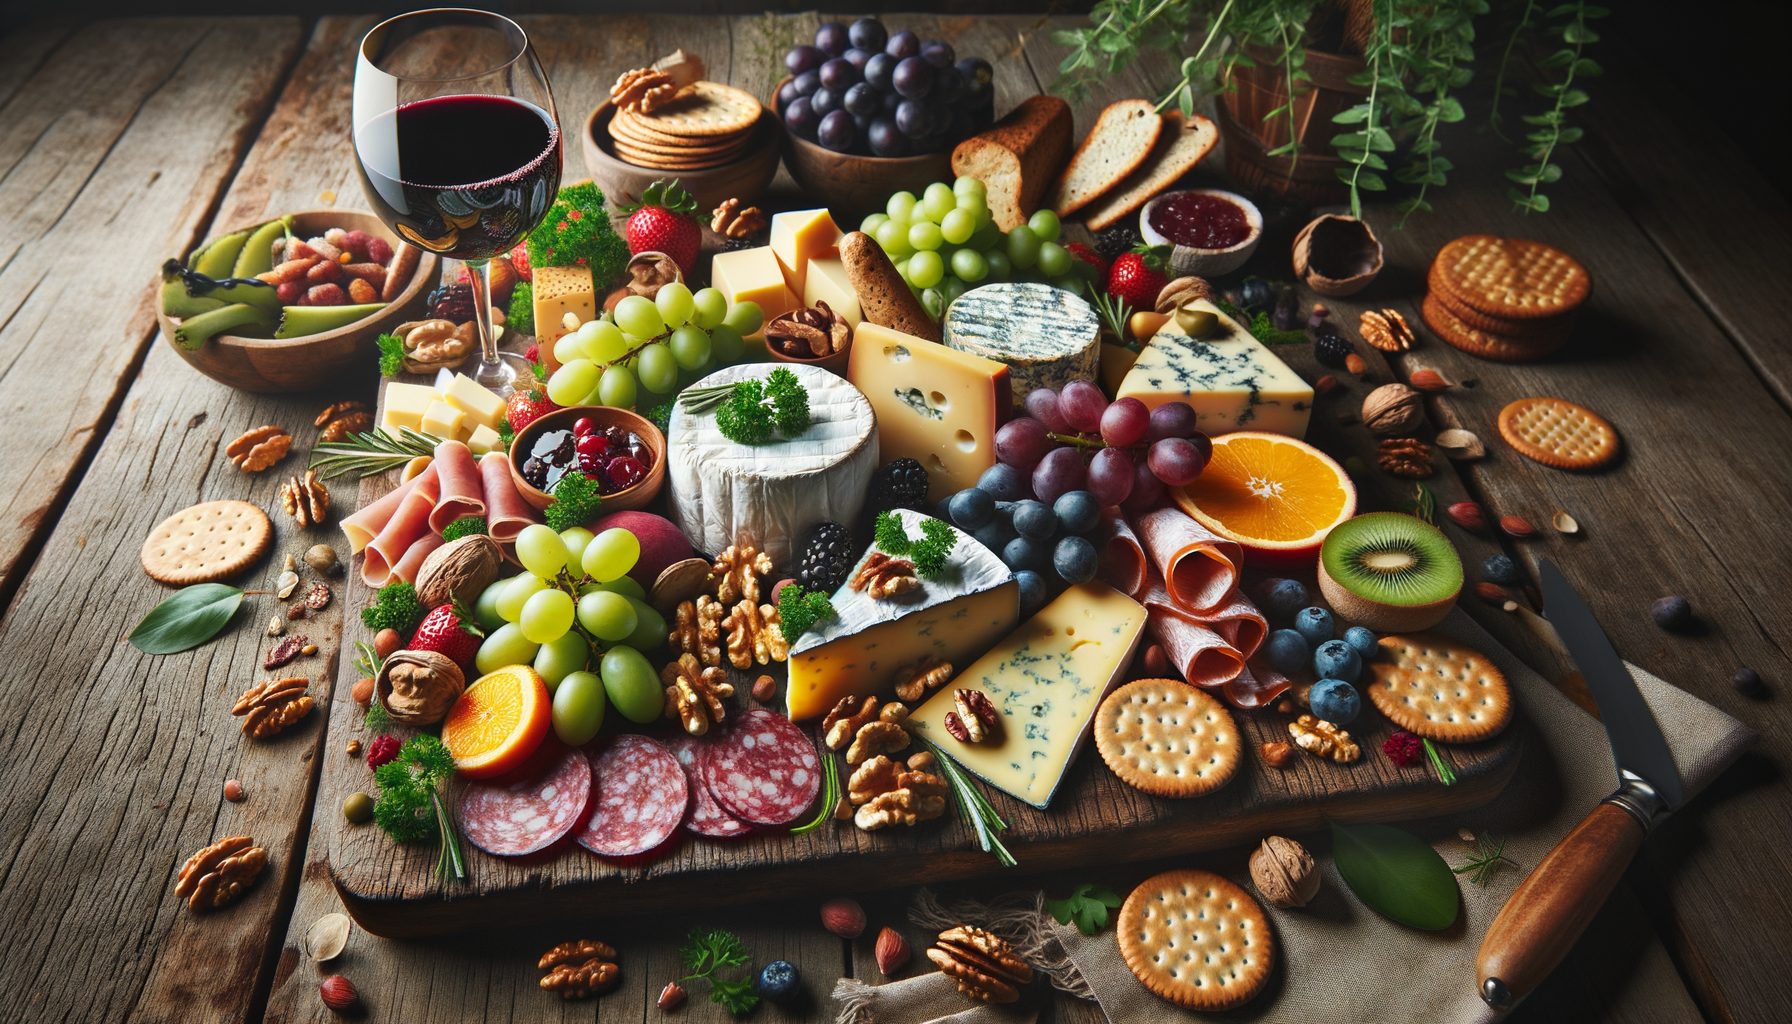
Creating the ideal cheese board is truly a form of art. The perfect amalgamation of flavors, textures, and aesthetics not only tantalizes the taste buds but also enchants the eyes. Whether you’re assembling a cheese board for a simple family gathering or a grand soiree, it’s a delightful way to start a meal or serve as a sophisticated centerpiece.
Understanding Cheese Varieties
When composing a cheese board, variety is key. Here’s a look at the main types of cheese to consider:
Hard Cheeses
Hard cheeses have a dense texture and a flavor profile that ranges from nutty to sharp. Some popular examples include Cheddar, Gouda, and Manchego. Their firmness makes them perfect for slicing and holding shape on your board.
Semi-Hard Cheeses
Semi-hard varieties like Swiss and Provolone offer a slightly softer texture and milder flavors than their hard counterparts. They’re perfect for creating a balanced cheese board.
Soft Cheeses
Soft cheeses, such as Brie, Camembert, and Goat cheese, provide a creamy texture and a rich, buttery taste. They spread easily on crackers and bread, making them a cheese board favorite.
Blue Cheeses
Blue cheeses like Gorgonzola, Roquefort, and Stilton have distinct blue or green veining and a bold, pungent flavor. They are ideal for those who appreciate a more intense cheese experience.
Pairings and Accompaniments
Equally important to the cheese selection are the accompaniments that enhance their flavors.
Crackers and Breads
A variety of bread and crackers provide a crispy base for the cheese. Choose options like baguette slices, water crackers, and artisanal breadsticks. Consider including gluten-free options for guests with dietary restrictions.
Charcuterie
Cured meats such as prosciutto, salami, and ham complement the creamy textures of cheese. They also add a savory element to the board, making it more filling and satisfying.
Fruits
Fresh fruits like grapes, figs, apples, and berries or dried fruits like apricots and raisins add a sweet contrast to the savory cheeses and meats. They also introduce different textures and colors to your display.
Nuts and Seeds
Nuts like almonds, walnuts, and pecans, or seeds such as pumpkin and sunflower seeds, provide a crunchy texture and are a great way to fill any gaps on the board, while adding a delightful nutty note.
Condiments and Extras
Condiments like honey, mustards, and fruit preserves bring a burst of flavor that can amplify the cheese’s taste. A variety of olives, cornichons, or pickled vegetables offer a tangy counterpoint that cleanses the palate.
Arrangement and Presentation
The visual appeal of a cheese board is just as essential as its taste profile. Your board should be a tapestry of color, texture, and form.
Choosing a Board
Select a large wooden board, slate, or marble platter as your base. Ensure it’s big enough to accommodate all your elements without overcrowding.
Placing the Cheese
Start by placing the cheeses on the board first. Space them out and consider cutting some into slices or wedges to make it easier for guests to sample without having to cut it themselves.
Adding the Accompaniments
Artfully arrange the meats, fruits, nuts, and condiments around the cheeses. Group items together and create patterns for an appealing look.
Garnishes
Edible flowers, herbs, and microgreens can add a decorative touch and a fresh element to your cheese board.
Serving and Enjoyment
Once your board is assembled, consider these final touches to ensure your guests enjoy the full experience.
Serving Utensils
Provide cheese knives, spreaders, and small forks or toothpicks for easy serving. This also helps to avoid mixing flavors among the cheeses.
Labeling the Cheeses
It can be helpful to label each cheese, especially for guests who may want to avoid or embrace certain flavors. Small tags or chalkboard labels work well for this.
Temperature
Cheese is best enjoyed at room temperature. Remove the cheeses from the refrigerator an hour before serving to let the flavors fully develop.
Finishing Thoughts
The creation of the perfect cheese board lies in balancing flavors, colors, and textures while also considering the preferences of your guests. Remember that there are no strict rules to follow; it’s all about experimenting with different combinations and having fun with the presentation. A cheese board is more than just a collection of snacks—it’s a communal experience that invites conversation and enjoyment. So, the next time you gather with friends or family, impress them with your newfound artistry in crafting the ultimate cheese board.“`html
Frequently Asked Questions
What types of cheese should be included on a cheese board?
Include a variety of textures and flavors when selecting cheeses for your board. Aim for a mix of hard, semi-hard, soft, and blue-veined cheeses. For example, you could include a sharp cheddar, a creamy brie, a crumbly gorgonzola, and a nutty manchego.
How much cheese do I need per person?
Aim for around 1 to 2 ounces of each cheese per person if the cheese board is being served as an appetizer. If it’s the main focus of the meal, plan for 3 to 4 ounces per person. Remember, variety is key – smaller portions of a wide range will be more engaging than large portions of fewer cheeses.
What accompaniments pair well with a cheese board?
Cured meats, like prosciutto, salami, and soppressata, are classic pairings. Fruits such as grapes, figs, apples, and berries add sweetness and texture. Nuts, honey, olives, and artisanal bread or crackers provide a nice variety for palate cleansing and additional flavor profiles.
Should cheese be served at room temperature?
Yes, cheese should be served at room temperature to bring out the fullest flavor and best texture. Take the cheeses out of the fridge at least 30 minutes to an hour before serving, depending on the size of the blocks.
How should I arrange the cheese on the board?
Begin with the largest items, such as blocks or wheels of cheese. Space them out evenly on the board. Then, add smaller items like bowls of nuts or olives. Fill in gaps with slices of meat, crackers, and fruit. Create visual interest by grouping similar items together and providing contrast in colors and shapes.
How should I cut the cheese for serving?
Different cheeses require different cuts to appreciate their texture best. For example, hard cheeses can be sliced, while soft cheeses can be served with a knife for guests to spread on crackers or bread. Pre-slice some cheeses for convenience, but also leave some whole for guests to cut themselves, as this can be part of the experience.
What types of knives and utensils should I include?
Provide a separate knife for each cheese to avoid mixing flavors. Soft cheese knives, chisel knives for crumbly cheese, and sharp knives for hard cheeses are recommended. Cheese forks and spreaders are also useful. If you include accompaniments like honey or jams, include small spoons or spreaders for those as well.
Can I make a cheese board ahead of time?
Yes, you can prepare your cheese board in advance. Arrange all the non-perishable items on the board, cover it with a clean cloth, and store it in a cool place until you’re ready to serve. Leave perishable items like cheese and meats in the refrigerator until the last moment.
How should I pair wines with my cheese board?
The key to pairing wines with a cheese board is to match the intensity of the wine with the intensity of the cheese. Lighter cheeses, such as goat cheese, pair well with crisp whites like Sauvignon Blanc, while bolder cheeses, like aged cheddar, can stand up to a full-bodied red like Cabernet Sauvignon. Bubbles from a sparkling wine can cleanse the palate in between different cheese flavors.
How can I accommodate guests with dietary restrictions?
Offer gluten-free cracker options and label any cheeses that are made from alternative milks like goat or sheep, for those with lactose intolerance. Consider including some plant-based cheeses for vegan guests. Always ask your guests ahead of time if they have any dietary restrictions you should be aware of.
“`


