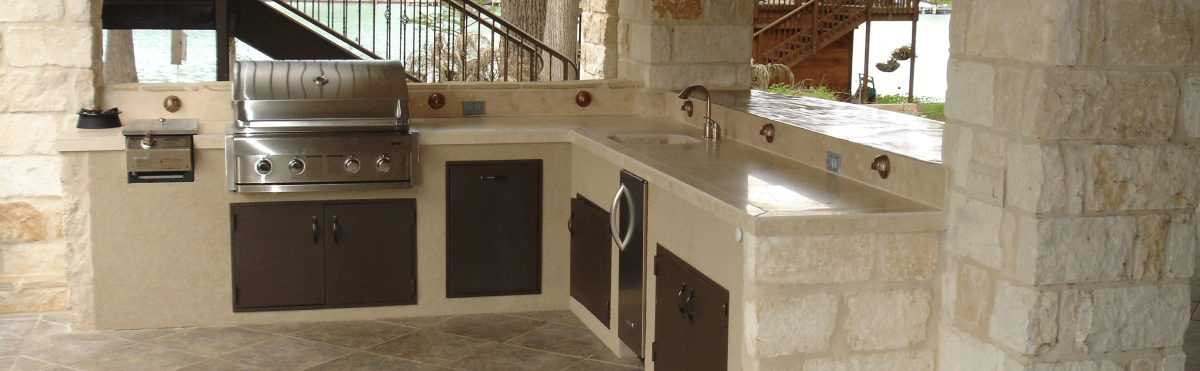
Here’s something gear testing teaches you fast: water always finds the weak spot. In my kitchen it’s a ring of condensation under a cold pan. Outside it’s a gutter spilling over onto a grill cart on a long wet evening, rain hissing on a hot grate.
This post is about building a covered outdoor cooking spot that stays dry, from the roof overhead to the way water leaves it. For readers in Oregon, one local option for that kind of work is Danforth Construction, whose pages cover roofing, gutters, garage doors and general contracting. Here’s how I’d think it through.
Prep: Plan the cover before the cooking
Map the weather, not just the stations
Every kitchen I trust starts with mise en place, the French habit of getting everything in its place before the first order goes in. For an outdoor kitchen, the first thing to place is the weather. Stand where the grill will go on a wet, windy day and watch where the rain actually lands. It rarely falls straight down. It slants in under a roof edge, blows across the patio and drips off the lowest corner above you.
Much of Oregon has a proper wet season, so I treat cover as a requirement, not a luxury. Then think about heat and air. A roof over a cooking area isn’t a closed room. Smoke and hot air need somewhere to go, and the clearance between a grill and the structure above it depends on the equipment and the build. Check the manufacturer’s instructions and ask your local building department before anything gets framed.
Sort your gear by how it handles damp
I spend a lot of time testing gear, and the pattern is boring and reliable: metal that rusts, wood that swells, and anything electric that doesn’t get along with water. Decide what lives outside and what comes in at night. This is my rough sort.
| Gear | What damp air does | Where it lives | Care habit |
|---|---|---|---|
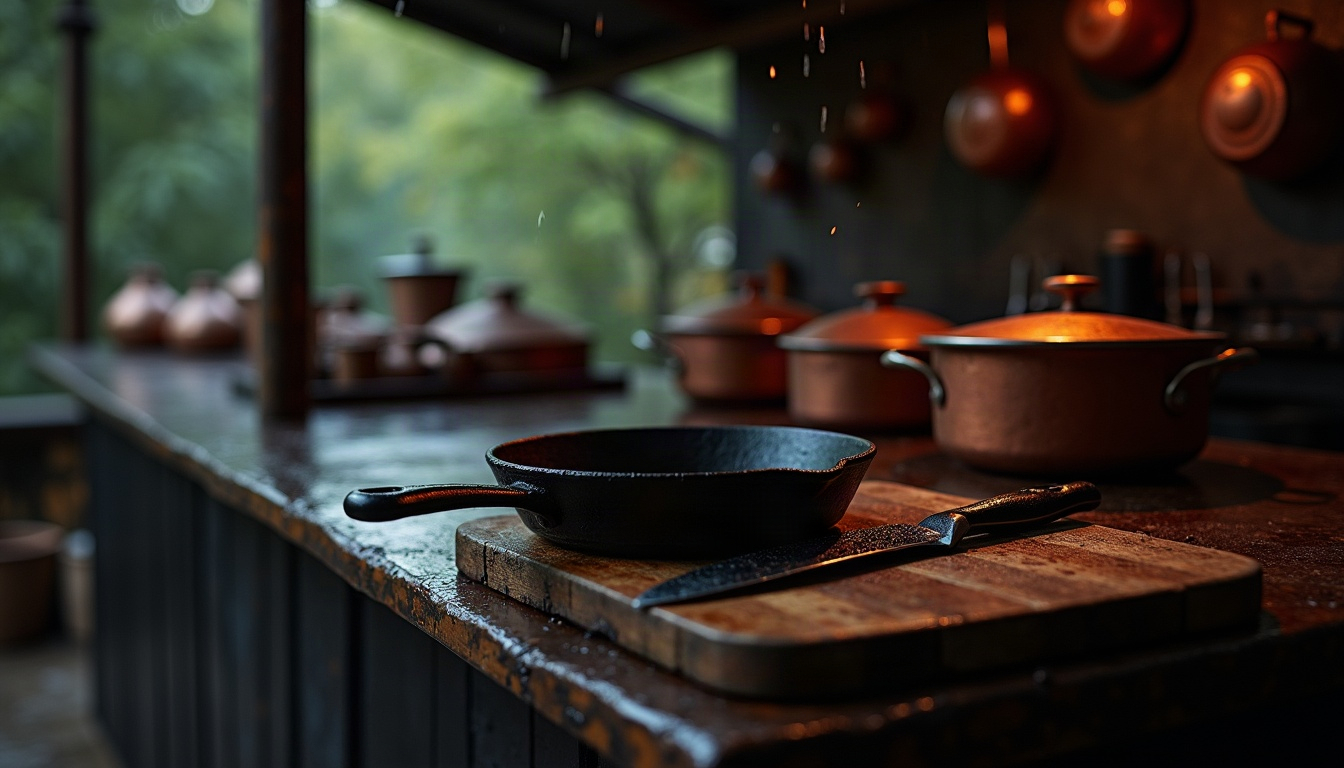
| Cast iron pan | Rusts once the seasoning is thin | Indoors | Dry over low heat, thin film of oil |
| Carbon-steel pan or knife | Spots and rusts even faster | Indoors | Dry at once, oil lightly |
| Stainless steel counter | Resists rust, shows water spots | Under cover | Wipe and dry after rain |
| Wood board or handle | Swells, cracks, grows mildew | Indoors, on edge | Hand wash, dry upright |
| Electric outdoor gear | Water and power are a safety problem | Outdoor-rated gear only | Wiring is for a licensed electrician |
The trade-off is simple: the more you carry inside, the smaller the cover can be. Pick one on purpose.
Know what to ask the pros
Roof and gutter work happens at height, and anything that ties a new roof into an existing house is structural. That’s for licensed professionals. What you can do is show up with good questions. A good general contractor or roofer will walk the site, explain how a new roof meets the house and tell you where the water will run and where it will leave. If the answers come back vague, keep looking.
Chef’s note: Sketch your setup on paper and mark the rain line, the point where a slanting storm reaches. Anything that can’t live inside that line either comes in at night or gets its own cover. It takes a few minutes and saves a lot of guessing.
Cook: Build in the right order
Get the roof over your head first
A build has an order for the same reason a recipe does. Nothing nice goes under the cover until the cover is weathertight. Framing, roofing and the joint where the new roof meets the house come first, done by people who work at height for a living. Counters, floors and gear come after. Carry a prep table in before the roof is finished and you’re just storing it in the rain.
Power and gas follow the same rule. Outdoor outlets, lighting and any gas line to a grill or burner are work for a licensed electrician or gas fitter, installed to local code. Ask the building department which permits apply, and let the professionals do the connecting.
Send the water somewhere on purpose
Gutters are the least exciting part of the setup and the first to ruin it. A roof collects a lot of water in a short time, and the gutters and downspouts decide where it goes. Sound is a good diagnostic. A steady rush down the downspout is what you want. A splash and a gurgle at the roof edge means water is leaving where it shouldn’t.
Downspouts should finish where the water can run away from the cooking area and the house, not toward them. Your contractor can tell you what your yard allows. Clogged gutters are a common reason water ends up in the wrong place, and cleaning them means ladders and edges. I’d rather pay a professional than test my balance.
Do a dry run in real weather
Before you trust the setup, test it the way I’d test a new piece of kit: real load, honest notes. On a rainy day, set out the cart, the board and the pans, and stand under the cover. Where does the spray reach? Write it down, then move the gear before you move anything permanent.
Then cook something simple, like a tray of vegetables. Feel the heat gathering under the roof and the smoke finding its way out. If your eyes sting or you’re coughing, the airflow is wrong, and that’s a conversation with your installer, not something to tough out.
Chef’s note: Stand in the doorway during a hard rain and follow each stream of water from roof to ground. Wherever one lands near your gear, decide whether the water or the gear should move. Do this in a real storm, not on a sunny day.
Plate: Finish the edges and keep them right
Check the details nobody photographs
Plating is the wipe of the rim and the last pinch of salt. In a build, the finish is the unglamorous edge: where the roof meets the wall, the lip of the gutter, the gap under a door. Those details keep water out in year three, not just in week one.
If your garage doubles as wet-weather storage for the grill and the big pans, it’s part of the system. A garage door that closes squarely and seals along the bottom keeps out damp and leaves. Repairs are a job for a pro, since the springs on a garage door are no place for a home cook.
Build a dry-down routine
Gear lasts exactly as long as the habit behind it. After a damp night, here’s the reset I use for a cast iron pan:
- Scrub it under hot water with a stiff brush.
- Dry it with a towel, then set it over low heat until the last moisture steams off.
- Take it off the heat and rub a very thin film of neutral oil over the whole surface.
- Wipe it again until it looks barely glossy, because a thick layer turns tacky.
- Store it somewhere dry, not in the outdoor cabinet.
The same logic, dry completely, protect lightly, store dry, covers carbon-steel pans, knives and most metal tools. Wood gets a twist: let it dry standing on its edge so air reaches both faces.
Once a year, before the wet season, I also walk an outdoor cooking spot the way I check a station before service. From the ground, look at the roof edge, the gutters and the underside of the cover for stains, sagging or daylight. Anything you can only see from a ladder gets a call to a professional instead of a climb.
Chef’s note: Keep a rag and a small bottle of neutral oil right where the gear lives. If drying down takes thirty seconds, it happens. If you have to go find the oil, it doesn’t.
Clean down
At the end of a shift, a good kitchen wipes down, dries off and puts everything back where it lives. That’s the one habit I’d carry outdoors: after each cook, and after each hard rain, dry what’s wet, put the vulnerable gear away and look at where the water went. A sound roof and well-placed gutters give you a dry place to cook. The routine keeps it that way.