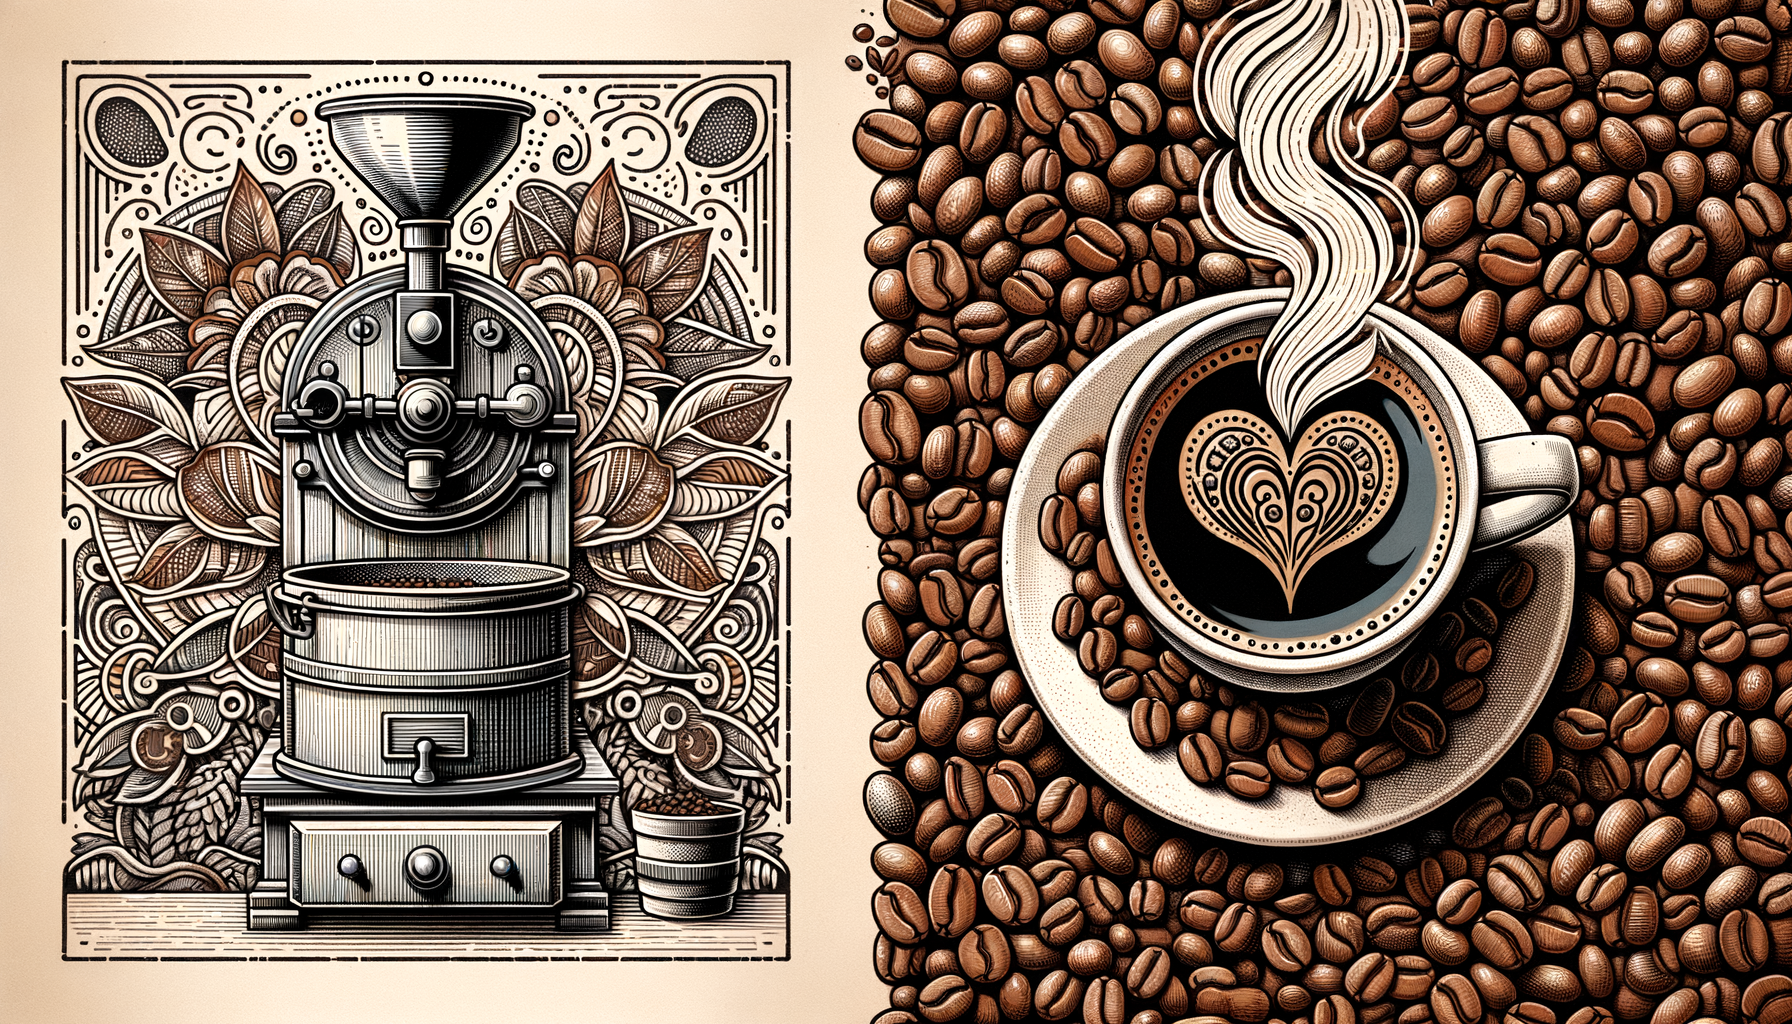
Coffee is not just a beverage—it’s a passion, a ritual, and for many, a vital part of daily life. Many coffee aficionados are familiar with the myriad ways in which coffee can be brewed, but far fewer have ventured into the art of roasting their own beans at home. Home coffee roasting is an enriching process that not only unlocks a deeper understanding of what goes into a cup of coffee but also allows individuals to tailor the flavor profile of their brews to their exact tastes.
The Allure of Home Coffee Roasting
Before delving into the how-tos of coffee roasting, it’s important to understand the allure of this undertaking. Roasting your own coffee beans provides a level of freshness that is difficult to achieve with store-bought beans, which may have been roasted weeks or even months before they reach your home. The freshness of the roast significantly impacts the aroma and flavor of the coffee, making the effort worthwhile for many enthusiasts.
Additionally, roasting at home allows for a level of customization that simply isn’t possible with pre-roasted beans. By roasting your own beans, you have control over the roast level—from a light, acidic profile, to a dark, bold flavor. You can experiment with beans from different origins, play with their roasting profiles, and even blend beans post-roast for unique flavor combinations.
Understanding the Coffee Bean
Before one starts roasting, it’s imperative to understand the raw material—green coffee beans. Green coffee beans are the seeds of the coffee cherry, which have been processed (usually washed or dried) to remove the fruit flesh, mucilage, and parchment, but have not yet been roasted.
Each type of green coffee bean has its own flavor potential, largely influenced by its origin, variety, and processing method. Beans from Africa, for instance, are known for their fruity and floral notes, while those from Latin America might have more chocolate and nut flavors. Similarly, the way the beans are processed after being harvested also affects their final taste.
The Roasting Equipment
Choosing the Right Roaster
To begin roasting at home, you will need some equipment. There are several methods and tools that you can use to roast coffee beans at home, each with their own advantages and disadvantages.
1. **Air Roaster**: Air roasters, such as fluid-bed roasters, roast beans using hot air, which can lead to a cleaner, more uniform roast. They are usually easy to use and can roast a batch of beans in under 10 minutes.
2. **Drum Roaster**: Drum roasters roast beans in a rotating drum that tumbles the beans in a heated environment. This method is favored by many enthusiasts as it allows for a larger batch size and can produce a more complex flavor profile due to the beans’ longer contact with metal surfaces.
3. **Stovetop and Oven Roasting**: For those not ready to invest in a specialized roaster, you can start with a heavy pan on the stovetop or a baking tray in the oven. These methods can be tricky due to less control over temperature and the risk of uneven roasting, but they are a good low-cost way to experiment.
4. **Modified Popcorn Poppers**: Some home roasters start with hot air popcorn poppers, which can work quite well but typically have a small batch size and lack precise temperature control.
Regardless of the method you choose, you will need a way to rapidly cool the beans once the roasting process is complete to stop the roasting process and preserve your desired level of roast.
Additional Accessories
A few additional accessories will greatly benefit your roasting process:
– A **good quality scale** to measure the green beans.
– A **colander or cooling tray** for cooling the beans post-roast.
– A **heat gun or infrared thermometer** to keep track of the bean temperature.
– A **Timer** to track roast times.
– A **Vent** or **fan** setup to manage the smoke, especially for indoor roasting.
The Roasting Process
Once you have your green beans and roaster ready, you can embark on the actual roasting process. The roast can be broken down into several key phases:
1. **The Drying Phase**: The beans need to be dried out before proper roasting can begin. This is typically done at a lower temperature and can last from 4 to 8 minutes, depending on the method and the beans’ moisture content.
2. **The First Crack**: As the internal temperature of the beans rises, they will expand and crack for the first time. This ‘first crack’ is an audible signal that roasting has begun in earnest, and it usually happens around 196°C (385°F).
3. **Development Time**: After the first crack, the beans enter the development phase, where the flavor is developed according to how long they are roasted. This is the time to monitor closely, as this will determine the flavor profile of your coffee.
4. **The Second Crack (if applicable)**: A further roast will lead to a second crack, which is less distinct but signals a darker roast level. Second crack typically begins around 224°C (435°F).
5. **Cooling**: Once you’ve reached your desired roast level, you must cool the beans quickly to stop the roasting process and “lock in” the flavor profile.
Roast Levels
Understanding roast levels is essential for determining how you want your finished beans to taste:
– **Light Roast**: Retains the original character of the bean, usually has a higher acidity, and no oil on the bean surface.
– **Medium Roast**: More balanced flavor, aroma, and acidity with some sweetness and body, often preferred for a daily cup.
– **Dark Roast**: Prominent roasted or smoky flavors, oily surface, with less acidity and more bitterness.
Experimenting with Roasting Profiles
One of the joys of home roasting is the ability to experiment with different roasting profiles. A profile generally maps out the temperature curve for the roasting process, which can impact the development of different flavors in the beans. You can roast the beans quickly for a brighter cup or slowly let them develop a fuller, darker profile. Documenting your roasting times, temperatures, and results will help you refine your approach and achieve consistent results.
Storing Roasted Coffee Beans
Once roasted, coffee beans should be stored properly to maintain their freshness. Typically, they need to be degassed for a few hours or up to a day before they are sealed, as they emit CO2 shortly after roasting. An airtight container, away from light, heat, and moisture, is best for preserving the flavors of your newly roasted coffee.
From Roast to Brew
After roasting and a suitable resting period, your beans are ready to be ground and brewed. The grind size and brewing method you choose will also affect the final taste of your coffee. French press, pour-over, espresso, and other brewing methods all highlight different aspects of your coffee’s flavor profile, so feel free to experiment to find the perfect match for your home-roasted beans.
Finishing Thoughts
Roasting coffee at home is an art that combines craftsmanship with science. While it may seem complex at first, with a little practice, anyone can transform green coffee beans into a flavorful, aromatic brew. The key is to be patient, attentive, and ready to experiment. Home roasting not only offers an avenue for personal expression but also elevates the simple act of drinking coffee into a more immersive and rewarding experience. Embrace the process, learn from each batch, and enjoy the journey from beans to your perfect brew.“`html
Frequently Asked Questions
What equipment do I need to start home coffee roasting?
To start home coffee roasting, you’ll need green coffee beans and a heat source for roasting such as a popcorn popper, a dedicated coffee roaster, a frying pan, or even a home oven. Additionally, a metal colander or cooling tray for cooling the beans post-roast and a storage container for your freshly roasted coffee are also recommended.
Can I roast coffee beans in my regular oven or on the stovetop?
Yes, you can roast coffee beans in a regular oven or on the stovetop using a heavy pan. However, these methods require constant attention and stirring to prevent uneven roasting and potentially burning the beans. These methods also do not vent smoke well, so be prepared for a smoky kitchen if you use these roasting methods.
What are the stages of coffee bean roasting?
Coffee bean roasting typically goes through several stages, including drying, yellowing, first crack, and second crack. The roast progresses from a light roast (stopped at first crack) to medium, medium-dark (somewhere between first and second crack), and dark roast (stopped during or after the second crack), depending on when the roasting is halted.
How do I know when the coffee beans are finished roasting?
You will know the coffee beans are finished roasting when they reach your desired level of roast, which is typically indicated by a combination of the beans’ color, size, and the cracking sounds they produce. Light roasts are generally stopped right after the first crack, while dark roasts might extend into the second crack. Use sight, sound, and smell to gauge the roast level.
What are “first crack” and “second crack” in coffee roasting?
The “first crack” is a popping sound that occurs as the beans expand and their moisture turns to steam. The “second crack” is a louder, more intense cracking sound indicating a further breakdown of the beans’ cell structure. These cracks serve as milestones that help you determine the degree of roast.
How long should I let the beans rest after roasting before brewing?
It is generally recommended to let roasted beans degas for about 12 to 24 hours before brewing to ensure optimal flavor. This rest period allows excess carbon dioxide to escape and the flavors to develop. However, this can vary based on the type of beans and your personal taste preferences.
Can I roast a batch of beans for espresso differently than for drip coffee?
Yes, roasting beans for espresso typically involves a darker roast to bring out a fuller body and sweetness, which complements the concentrated brewing method. In contrast, beans for drip coffee can be roasted to a variety of levels depending on the desired flavor profile.
How long do home-roasted coffee beans last?
Home-roasted coffee beans are best enjoyed within one to two weeks of roasting for maximum freshness and flavor. However, they can technically last for up to six months if stored properly in a cool, dark place in a container with a one-way valve to allow gases to escape without letting air in.
How should I store my freshly roasted coffee beans?
Store your freshly roasted coffee beans in a cool, dark place in an airtight container. Some prefer containers with a one-way valve to allow gases from the beans to escape without allowing air back in, which can degrade the beans’ quality and flavor over time.
Is it cost-effective to roast my own coffee at home?
Roasting your own coffee at home can be cost-effective in the long run, especially if you purchase green beans in bulk. However, there may be an initial investment for the roasting equipment. Besides cost, home roasting also offers the advantage of fresh, customized roasts and can be a rewarding hobby for coffee enthusiasts.
“`


