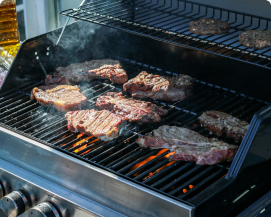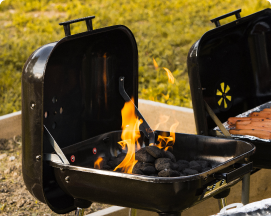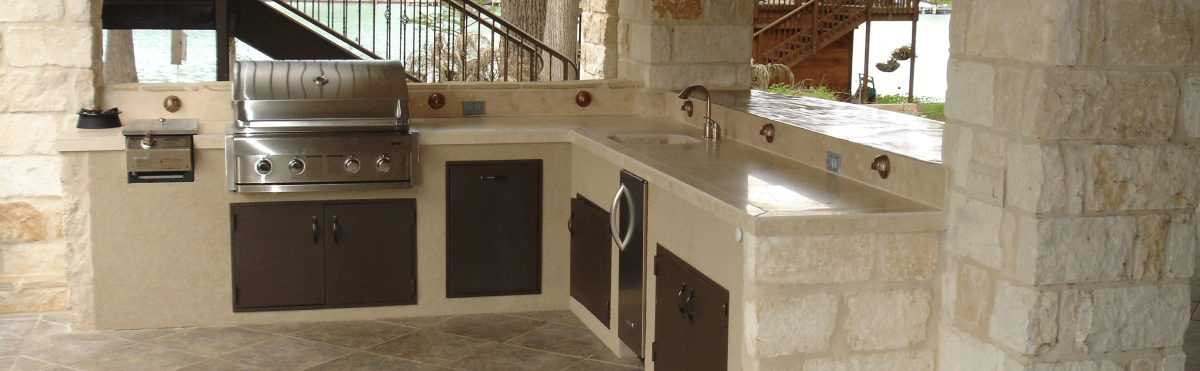

The first thing I notice at a good outdoor cook is the sound: fat hitting hot cast iron with a steady hiss, then the soft crackle of a pizza crust blistering on a baking stone. The second thing I notice is whether the cook had to take three steps or ten to get from one to the other.
Gear gets all the attention, but the ground under it decides how the whole setup feels. What should you ask when you’re scrolling through patio builders Reno NV listings and every one sounds alike? Start with your cooking list, because a patio that suits a single grill is the wrong shape for a pizza oven, a griddle and a prep table.
Prep: map the gear before the ground
Write the cooking list
I test kitchen gear for a living, and the first thing I do with any new piece is figure out what it demands from the space around it. Do the same for your patio. List everything you cook outdoors now and everything you hope to cook in a year: grill, pizza oven, smoker, flat-top griddle, a prep table, maybe a small fridge. Next to each item, write whether it’s permanent or something you roll out for the weekend.
That list is your mise en place, the French kitchen habit of setting out everything before the cooking starts. A builder can only design for the gear you tell them about, and changing your mind after the surface is down is the kind of change nobody enjoys paying for.
Measure the footprint and the elbow room
Every unit has a footprint, and then it has a working zone: room to open the lid all the way, to slide a pizza peel (the long flat paddle that moves pizza in and out of an oven) back and forth, to set a hot tray down without balancing it on your knee. I count the working zone as part of the gear. When two zones overlap, one of them loses, and it’s usually the person holding the hot pan.
Check the clearances each manufacturer lists for its unit, then ask your builder how they fit with the house wall, any fence and any overhead cover. Those distances exist for heat and safety, so they’re not the place to improvise.
Chef’s note: Tape the footprint of every unit onto the ground with painter’s tape or chalk, then cook a pretend dinner. Carry a loaded tray from the kitchen door to the table, reach for a tool, turn around. If you bump into anything, the layout isn’t finished.
Read the weather and the yard
Reno gives a cook dry air, strong sun and winters cold enough to freeze the ground, and each of those shows up in a patio plan. Wind carries smoke and sparks farther than you’d expect, so notice which way it usually blows and keep the cooking zone downwind of seats and open windows. Strong afternoon sun makes a shaded prep counter worth having, because butter softens, herbs wilt and the cook gets short-tempered in full glare.
Water needs somewhere to go, too. Ask any builder how rain and melting snow will drain away from the house and away from your gear before the first stone is laid.
Cook: the build, in the order it happens
Start with the part you won’t see
A flat, stable patio starts below the surface. A good builder will explain how the ground is prepared, what goes under the finished surface, and how the patio is shaped so water runs off instead of pooling. Where the ground freezes and thaws every year, ask how that’s accounted for. You don’t have to judge the method yourself. You need to hear a clear, specific answer, not a shrug and a promise that it’ll be fine.
Pick a surface that forgives grease and heat
Outdoor cooking is messier than any dining patio ever gets. Fat spatters, a hot pan lands where it shouldn’t, and flour and ash drift everywhere. Here’s how I’d compare the common options, with the trade-offs as honest as I can make them. Your builder will know how each one behaves where you live.
| Surface | Heat and grease | Best for | Care |
|---|---|---|---|
| Poured concrete | Handles heat well; unsealed concrete can hold grease stains | Big, open cooking areas that get swept often | Ask about sealing; wipe spills quickly |
| Interlocking pavers | Handle heat; light colors show grease | Patios where one damaged piece should be fixable without redoing the rest | Sweep the joints; ask how they’re filled and kept |
| Natural stone | Handles heat; porous types soak up grease | Texture and a look that suits the yard | Seal as that type of stone calls for |
| Textured porcelain tile | Dense and hard to stain; smooth finishes get slick when wet | Cooks who want the easiest cleanup | Choose a grippy finish; keep the drainage clear |
Chef’s note: Ask for a sample of any surface you’re considering, put a few drops of cooking oil on it and leave it overnight. Whatever the stain looks like in the morning is what you’ll see every time a pan spits.
Leave gas and power to licensed trades
A gas line to a grill or an outlet for a fridge and lights over the prep table is work for licensed professionals, full stop, and it may need a permit, so ask the local building department what applies. What you can sort out is the order of the work. Lines that run under the surface have to be planned before the surface goes in, so the builder and the licensed trades should be talking before anyone breaks ground. Ask who’s coordinating that, and get the answer before you sign anything.
Plate: finish it, test it, keep it working
Run a shakedown cook
When the build’s done, cook a full dinner for real people before you call it finished. I do this with every new piece of gear, and it finds what a walk-through never will: smoke drifting toward the table, a spot where water pools after you hose down the grill, a light that leaves your cutting board in shadow. Treat the table where finished dishes land as your pass, the spot where plates wait before they go out, and make sure the path to it is clear and has good footing.
Chef’s note: Cook the same meal twice, once in daylight and once after dark. Lighting problems hide in the daylight version, and they’re the ones that send people back inside with the food half cooked.
Build a cleaning routine
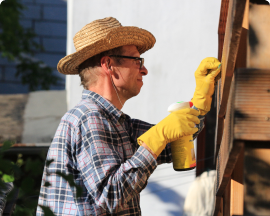
Gear and surface both last longer with a simple routine. Scrape and brush the cooking surfaces after every cook, wipe up grease while it’s fresh, and sweep the patio before debris turns to mud. Cover the gear when you’re done, because sun and snow are both hard on it. Ask your builder for care instructions in writing for your particular surface, including whether it needs sealing again and how to handle winter.
Keep a stiff brush, a bucket and a degreaser in one spot near the door. If the cleaning kit takes a hunt to find, the cleaning won’t happen.
Clean down
The habit worth keeping is the end-of-shift reset: when the last plate is gone and the gear has cooled, scrape, wipe, sweep and cover before you sit down. It takes a few minutes, and it’s the difference between an outdoor kitchen that looks ready for tomorrow and one that looks abandoned mid-service. Do it every time, and the patio you planned so carefully stays the patio you planned.