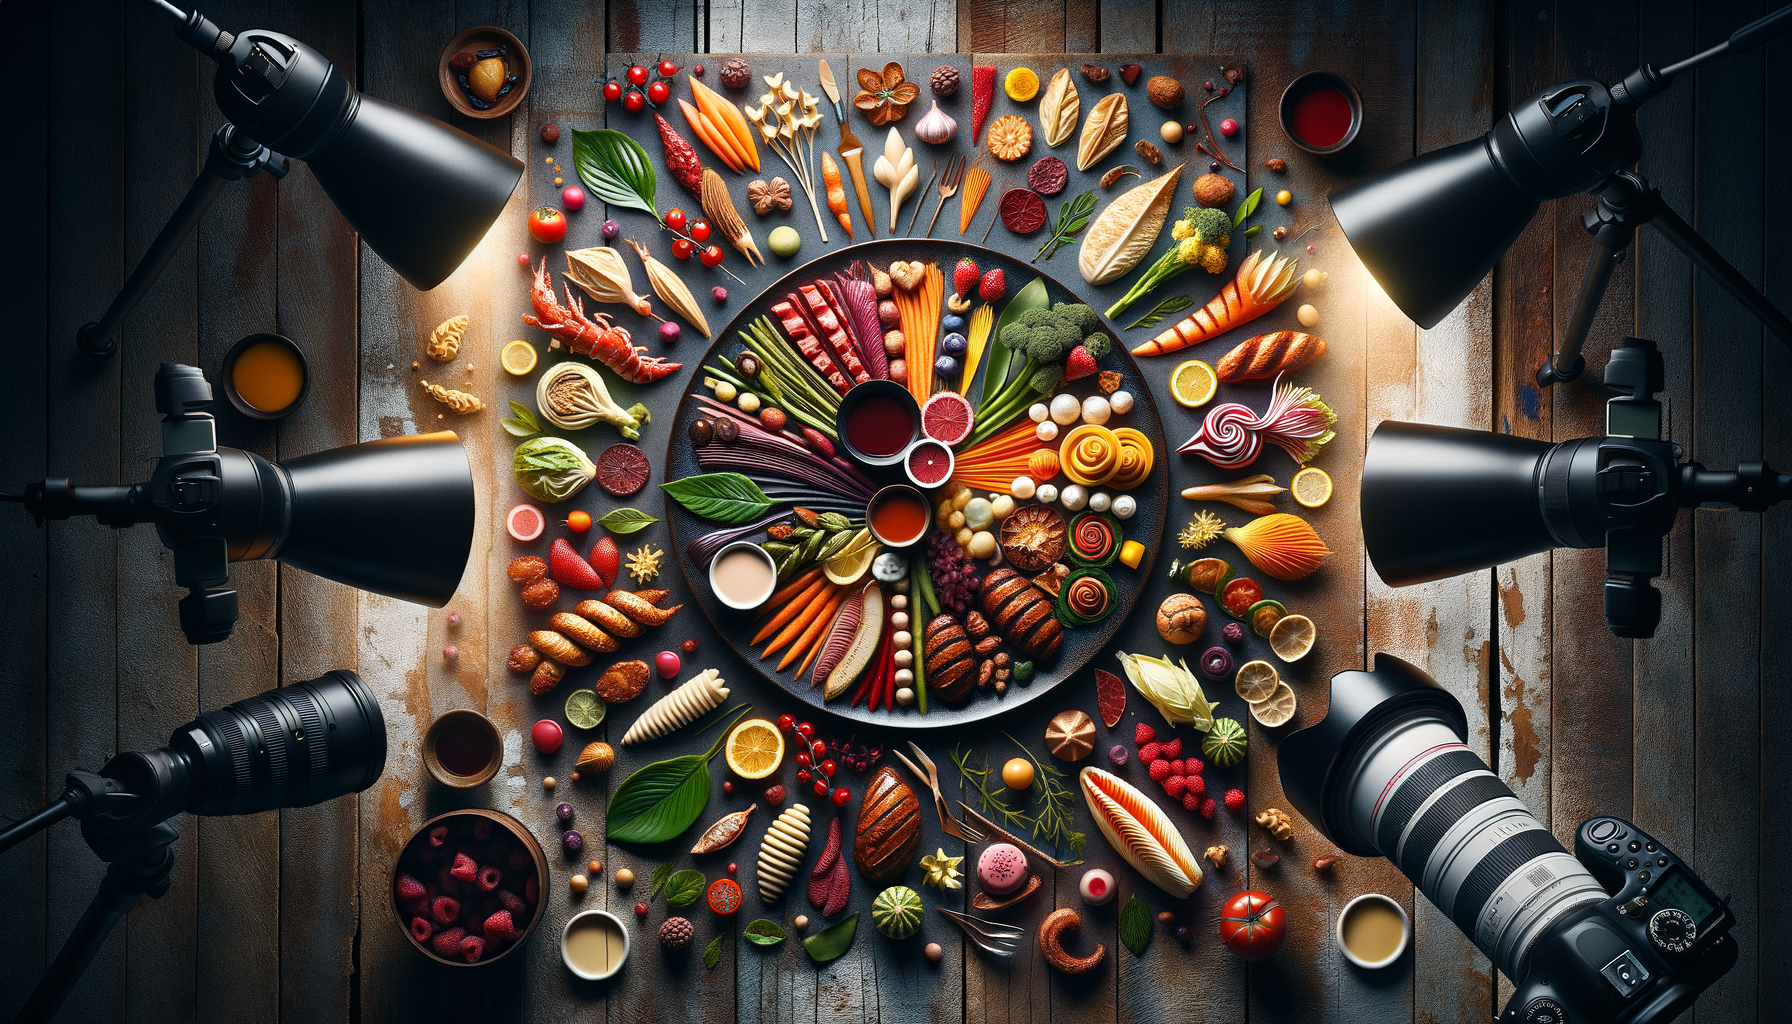
Food photography is not just a feast for the eyes but an art that requires skill, creativity, and an understanding of how to make edibles look tantalizing through the lens. Whether you are a budding food blogger, a culinary student, or a professional photographer expanding your portfolio, this guide will take you through the nuances of food styling and shooting, ensuring that your images leave viewers hungry for more.
The Essentials of Food Photography Equipment
Camera Choices
At the heart of food photography is the camera. While high-end DSLR or mirrorless cameras offer the most flexibility in terms of settings and lens choice, numerous food photographers have made a name for themselves using only their smartphones. What matters most is understanding how to use your camera effectively to capture the best image.
Lens Selection
For DSLRs and mirrorless cameras, a good quality lens makes a significant difference. Prime lenses with a focal length between 50mm and 100mm are ideal for food photography as they have a wide aperture to create a shallow depth of field, which helps in focusing attention on the subject. Macro lenses are another great option, perfect for capturing close-up details of the texture in food.
Lighting
Natural light is your best friend when it comes to food photography. It provides the most flattering and appealing look for food. If natural light isn’t available, invest in a couple of good quality artificial lights. Avoid harsh direct light as it can create unwanted shadows and highlights.
Tripods and Stabilizers
Using a tripod can significantly improve the sharpness and quality of your food images, as it eliminates camera shake especially in low light conditions or when using slow shutter speeds. A tripod with a horizontal arm can be particularly useful for top-down shots of food setups.
Understanding the Basics of Food Styling
Selecting the Right Props
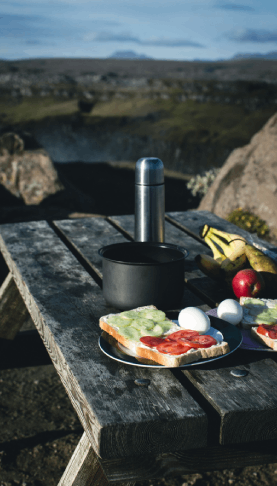
Props can set the mood and elevate your food images. Choose dishes, cutlery, linens, and backgrounds that complement the food and fit with the story you’re trying to tell. Be mindful of colors and textures that exist harmoniously without overpowering the food itself.
Composition and Balance
The composition is the arrangement of elements within your photograph and is crucial to create an enticing image. The rule of thirds is a composition principle that suggests dividing the image into thirds, both horizontally and vertically, and positioning the main elements along these lines or at their intersections. Balance can be symmetrical or asymmetrical, helping to create visual interest.
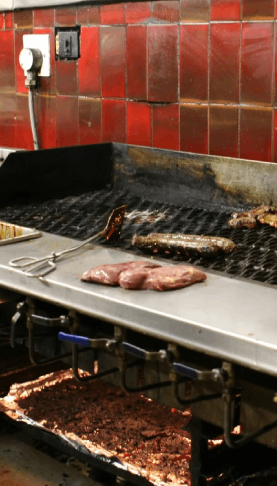
Focusing on Freshness
Fresh ingredients look the best. When styling your food, make sure it looks its best by preparing it fresh and keeping it looking moist and vibrant. Utilize natural enhancers like brushing oil on a salad to make it glisten or water to keep vegetables looking fresh.
The Art of Plating
How you plate your food can be as important as how you photograph it. Consider the plate as your canvas and the food as your paint. Experiment with different plating techniques, such as stacking, spreading, and spacing, to find the most visually appealing presentation.
Shooting Techniques for Captivating Food Images
Angles and Perspectives
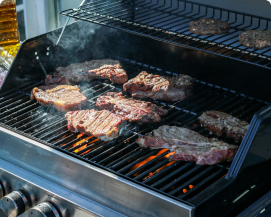
The angle at which you shoot the food can change the narrative of the photograph. Overhead shots work well for dishes presented on a table or for capturing symmetrical designs. A 45-degree angle is good for showing the different layers in a dish, while a straight-on shot can be powerful for items like burgers or cakes where the height and layers are significant.
Lighting and Shadows
Manipulate light to enhance the food’s textures and colors. Soft, diffused light is usually the most flattering for food photography. Use reflectors to bounce light back onto the food, and blockers or diffusers to soften shadows. Experimenting with the direction of light can create dramatic effects and highlight the depth of the subject.
Depth of Field
Playing with depth of field can bring focus to a specific part of the food while gently blurring out the distractions. A wide aperture (low f-stop number) creates a shallow depth of field which is ideal for a minimalistic approach, making the food pop out against a silky, blurred background.
Color Theory and Food Photography
Understanding color theory can immensely impact your food photography. Colors that are opposite each other on the color wheel, known as complementary colors, can make an image stand out. For instance, the red of a tomato sauce can be emphasized on a green backdrop. Similarly, analogous colors, which are next to each other on the color wheel, create a harmonious look.
Timing Is Everything
Certain foods have a very short window where they look their best. Ice cream begins to melt, and fresh greens wilt quickly. Being prepared and shooting quickly after plating ensures that the food looks as appetizing as possible.
Post-Production and Editing
Software for Food Photographers
Professional photographers use software such as Adobe Lightroom and Photoshop to tweak their images. Adjusting the exposure, contrast, saturation, and sharpness can greatly improve the photo. Learning how to use editing software can elevate your food photography from good to great.
The Power of Cropping
Sometimes a photo can be transformed by simply cropping it. Cropping can help to remove distracting elements, adjust the composition, or change the aspect ratio to better suit the intended use of the image.
Retouching Techniques
Basic retouching can be used to remove unwanted blemishes or to enhance highlights and shadows. However, remember that overly retouched images can appear fake and unappetizing, so use a light touch.
The Business Side of Food Photography
Building a Portfolio
Having a professional portfolio is essential to attract clients and showcase your work. Include a diverse range of food images that display your styling skills, understanding of composition, and photographic proficiency.
Marketing and Social Media
Use social media platforms like Instagram, Pinterest, and Facebook to share your work and reach a broader audience. Engaging with the community can open up collaboration opportunities and help in finding potential clients.
Working with Clients
When dealing with clients, communication is key. Understand their vision and requirements clearly before the shoot. Be flexible, but also make it clear what is possible and what isn’t.
Finishing Thoughts
The blend of styling prowess and photographic skills can transform the mundane into a mouth-watering masterpiece. Continuously practicing, learning new styles, familiarizing yourself with the latest photography trends, and adapting to your unique creative process are pivotal in the journey to food photography excellence.
With patience, experimentation, and attention to detail, you can craft sumptuous images that tell a story and tantalize the taste buds. Food photography is not just about showcasing food, but about weaving an experience that connects with people emotionally and visually. So, grab your camera, style your plate, and capture the delicious moments. Happy shooting!
Frequently Asked Questions
What is food photography?
Food photography is a genre of photography that focuses on creating attractive and appealing images of food. It is used in advertisements, magazines, blogs, menus, and cookbooks to entice viewers and showcase the artistry of culinary creations.
What are some basic tips for styling food in photography?
When styling food for photography, consider the following tips:
- Color: Use ingredients with contrasting colors to make the dish stand out.
- Freshness: Work with the freshest ingredients for the best appearance.
- Composition: Think about the plate layout and how the elements interact with each other.
- Texture: Highlight textures to give the food dimension and interest.
- Portion: Avoid overcrowding the plate; sometimes less is more.
- Props: Carefully select props like utensils, napkins, and backgrounds to complement the food.
Which camera settings are best for food photography?
Optimal camera settings for food photography may vary, but here are some guidelines:
- ISO: Keep it as low as possible to avoid noise.
- Aperture: Use a wider aperture (lower f-number) for a shallow depth of field to focus on the food and blur the background.
- Shutter Speed: Ensure it’s fast enough to eliminate any motion blur, unless intentional for creative effects.
- White Balance: Adjust to match the lighting conditions so the colors appear natural.
Do I need professional lighting for food photography?
While professional lighting can enhance food photography, it is not always necessary. Natural light can often provide a beautiful and soft look. However, for consistent results, especially in a professional or studio setting, investing in professional lighting like softboxes or LED panels can be beneficial.
How can I make my food photos look more professional?
To make your food photos look more professional:
- Pay close attention to lighting and composition.
- Use manual camera settings to control the depth of field and exposure.
- Style your food meticulously, paying attention to details.
- Post-process your images for balanced colors and contrast.
- Keep experimenting and learning from each shoot to refine your skills.
What is the best lens for food photography?
A standard lens for food photography is a 50mm prime lens due to its ability to closely mimic the perspective of human vision. However, a macro lens is also popular because it allows you to capture close-up details and textures. The choice of lens often depends on the desired composition and the size of the food being photographed.
Can you give an example of a simple food photography setup?
A simple food photography setup might include:
- A camera mounted on a tripod to stabilize the shot.
- Natural light coming from a window, with a reflector on the opposite side to fill in shadows.
- A styled food plate on a neutral-colored surface.
- Minimal props to accent the food without distracting.
What are common mistakes in food photography?
Common mistakes in food photography include:
- Ignoring the background and surrounding elements that can distract from the main subject.
- Using too much artificial light, which can create harsh shadows and highlights.
- Over-styling the food to the point where it looks unnatural.
- Not paying attention to the color balance and ending up with unnatural-looking food colors.
- Forgetting to focus on the most appealing part of the dish.
Is post-processing important in food photography?
Yes, post-processing is an important step in food photography. It allows you to adjust exposure, white balance, contrast, saturation, and sharpness. Additionally, post-processing can be used to clean up any blemishes and enhance the overall image to make the food look its best.
How do I maintain food freshness during a long photoshoot?
To maintain food freshness during a long photoshoot:
- Prepare dishes as close to the shoot time as possible.
- Use a spritz of water or vegetable glycerin to keep produce looking fresh.
- Have ingredients on standby to swap out if necessary.
- Use artificial ice cubes or a chilled plate to prevent melting or wilting.
- Work efficiently to minimize the time food is under lights or out of refrigeration.