
The Warm Embrace of Homemade Bread
Baking bread at home is an experience that touches all the senses. It transforms the humble ingredients of flour, water, yeast, and salt into an aromatic symbol of comfort and sustenance. From the gentle dusting of flour on the countertop and the rhythmic kneading of the dough, to the anticipation of the first slice, the joy of baking bread is both timeless and universal.
The Beginning: Choosing Your Bread Type
Before you begin your baking journey, it’s important to decide what type of bread suits your taste and needs. Some may prefer the simplicity of a rustic white loaf, while others might yearn for the hearty grains of whole wheat or rye. Varieties such as sourdough or ciabatta require different techniques and yield distinct textures and flavors. Knowing what kind of bread you want to create will guide the rest of your baking process.
The Basic Ingredients
The magic of bread-making lies in the simplicity of its ingredients. Most bread types require only four basic components:
- Flour: This is the base of your bread and can range from all-purpose flour to specialty or whole grain types.
- Water: Water activates the yeast and determines the dough’s hydration, affecting the texture of the bread.
- Yeast: The leavening agent, yeast, is responsible for the bread rising by producing gas during fermentation.
- Salt: Salt not only adds flavor but also regulates yeast activity and strengthens the dough structure.
Whether you lean toward a basic loaf or a more complex recipe, understanding the roles of these ingredients helps you control the outcome.
Measuring Matters
In bread-making, precision is key. Measuring your ingredients by weight rather than volume ensures accuracy and consistency. A digital kitchen scale can be an invaluable tool, giving you the exact amount of each ingredient every time.
Kneading: Developing Gluten
Kneading the dough is more than just a step in the recipe – it’s an act of love and patience. The process involves folding, pushing, and turning the dough repeatedly, which develops gluten. This network of proteins gives the bread its structure and chewiness. Whether you knead by hand, which can be both therapeutic and satisfying, or use a mixer with a dough hook, what’s important is reaching the right dough consistency – it should be smooth, elastic, and only slightly tacky to the touch.
The Windowpane Test
A common practice to check if the gluten has been developed enough is the windowpane test. Pinch off a small piece of dough and gently stretch it with your fingers. If you can stretch it into a thin membrane without it tearing, that’s a clear indication your dough has been kneaded sufficiently.
Fermentation: The Flavors of Time
After kneading, the dough must rest. This period of fermentation allows the yeast to consume the sugars in the flour, creating carbon dioxide which causes the dough to rise. This rise isn’t just for volume; it also develops the bread’s flavors.
The First Rise
This initial rise, often called “proofing,” can last anywhere from one to several hours, depending on the recipe and temperature. The dough should approximately double in size. This slower, longer rise time can enhance the complexity of flavors in the final loaf.
The Punch Down and Second Rise
Once the dough has risen, a firm “punch down” deflates the dough and redistributes the yeast, allowing for a second rise. This process can further improve the texture and flavor of the bread.
Shaping and Scoring: The Personal Touch
After the dough has completed its rises, shaping it is the next step. This can be as simple as forming a round boule or as intricate as braiding a challah. The shape you choose can affect the bread’s crust-to-crumb ratio and how it cooks.
Scoring the top of the loaf isn’t just for aesthetics; it allows for controlled expansion in the oven. Using a sharp knife or a lame, the baker makes shallow cuts on the dough’s surface, which also adds to the artisanal look of the finished bread.
The Bake: The Transformation
Baking bread is the moment when the chemical reactions from the heat of the oven bring your patience and efforts to fruition. The crust crisps and darkens, giving it flavor and texture, while the interior – the crumb – becomes light and airy.
Oven Spring
The first few minutes of baking are crucial – the yeast has one final burst of activity in the heat, known as “oven spring.” This is when the bread reaches its final size and shape. Steam is vital during this stage, as it keeps the crust soft enough to expand and creates the perfect, crisp outer layer.
Cooling and Storing: The Final Stages
Resisting the urge to cut into the bread right out of the oven is a true test of will. Bread needs time to cool as it continues to cook slightly and the crumb sets. Cutting too soon can result in a gummy texture.
Once cool, storing your bread properly maintains its freshness. A bread box or a paper bag can keep the crust crisp, while plastic can keep it soft. However, nothing beats the taste of freshly baked bread, so try to enjoy it within the first few days of baking.
Health Benefits and Nutrition
Homemade bread not only tastes better, but it can also be healthier. You control the quality of the ingredients, avoiding preservatives and additives found in store-bought loaves. Whole grain bread, in particular, provides dietary fiber, essential nutrients, and can be part of a balanced diet.
Finishing Thoughts
Baking bread at home is more than just a culinary endeavor; it’s an experience that can nourish both body and soul. It connects us to a tradition that is as old as civilization itself and remains a pillar of family and community. The act of baking, the aroma of fresh bread, and the joy of sharing it with loved ones is a homemade heaven that is within everyone’s reach. Whether you’re a seasoned baker or a curious newcomer, the journey of bread-making is sure to reward you with its simple pleasures and delicious outcomes. So grab your ingredients, roll up your sleeves, and create your own slice of homemade heaven.
Frequently Asked Questions
Why should I consider baking my own bread instead of buying it from the store?
Baking your own bread can be a rewarding experience for a number of reasons. Firstly, it allows you to control the ingredients, which means you can avoid preservatives and additives found in many store-bought breads. Secondly, the flavor and texture of homemade bread are often superior to mass-produced varieties. Additionally, baking is a therapeutic activity that can reduce stress and provide a sense of accomplishment when you pull a fresh loaf out of the oven.
What basic ingredients do I need to start baking bread at home?
The basic ingredients for a simple loaf of bread are flour, water, yeast, and salt. These ingredients combine to form the dough, which is then kneaded, left to rise, and finally baked. You can diversify with different types of flour (like whole wheat or rye), and add extras like seeds, nuts, or dried fruit to create a variety of flavors and textures.
Is it necessary to have a bread machine to bake bread?
While bread machines can make the process simpler and more consistent, they are not necessary for baking bread. Many bakers prefer the traditional method of kneading by hand or using a stand mixer with a dough hook. This can give you more control over the process and also provide a more hands-on baking experience.
How do I know when the bread is done baking?
Bread is typically done when it has a golden-brown crust and sounds hollow when tapped on the bottom. An instant-read thermometer can also be used to check if the bread is done; most breads are fully baked around an internal temperature of 190-210°F (88-99°C). However, different types of bread may require different internal temperatures.
Can I bake bread without a loaf pan?
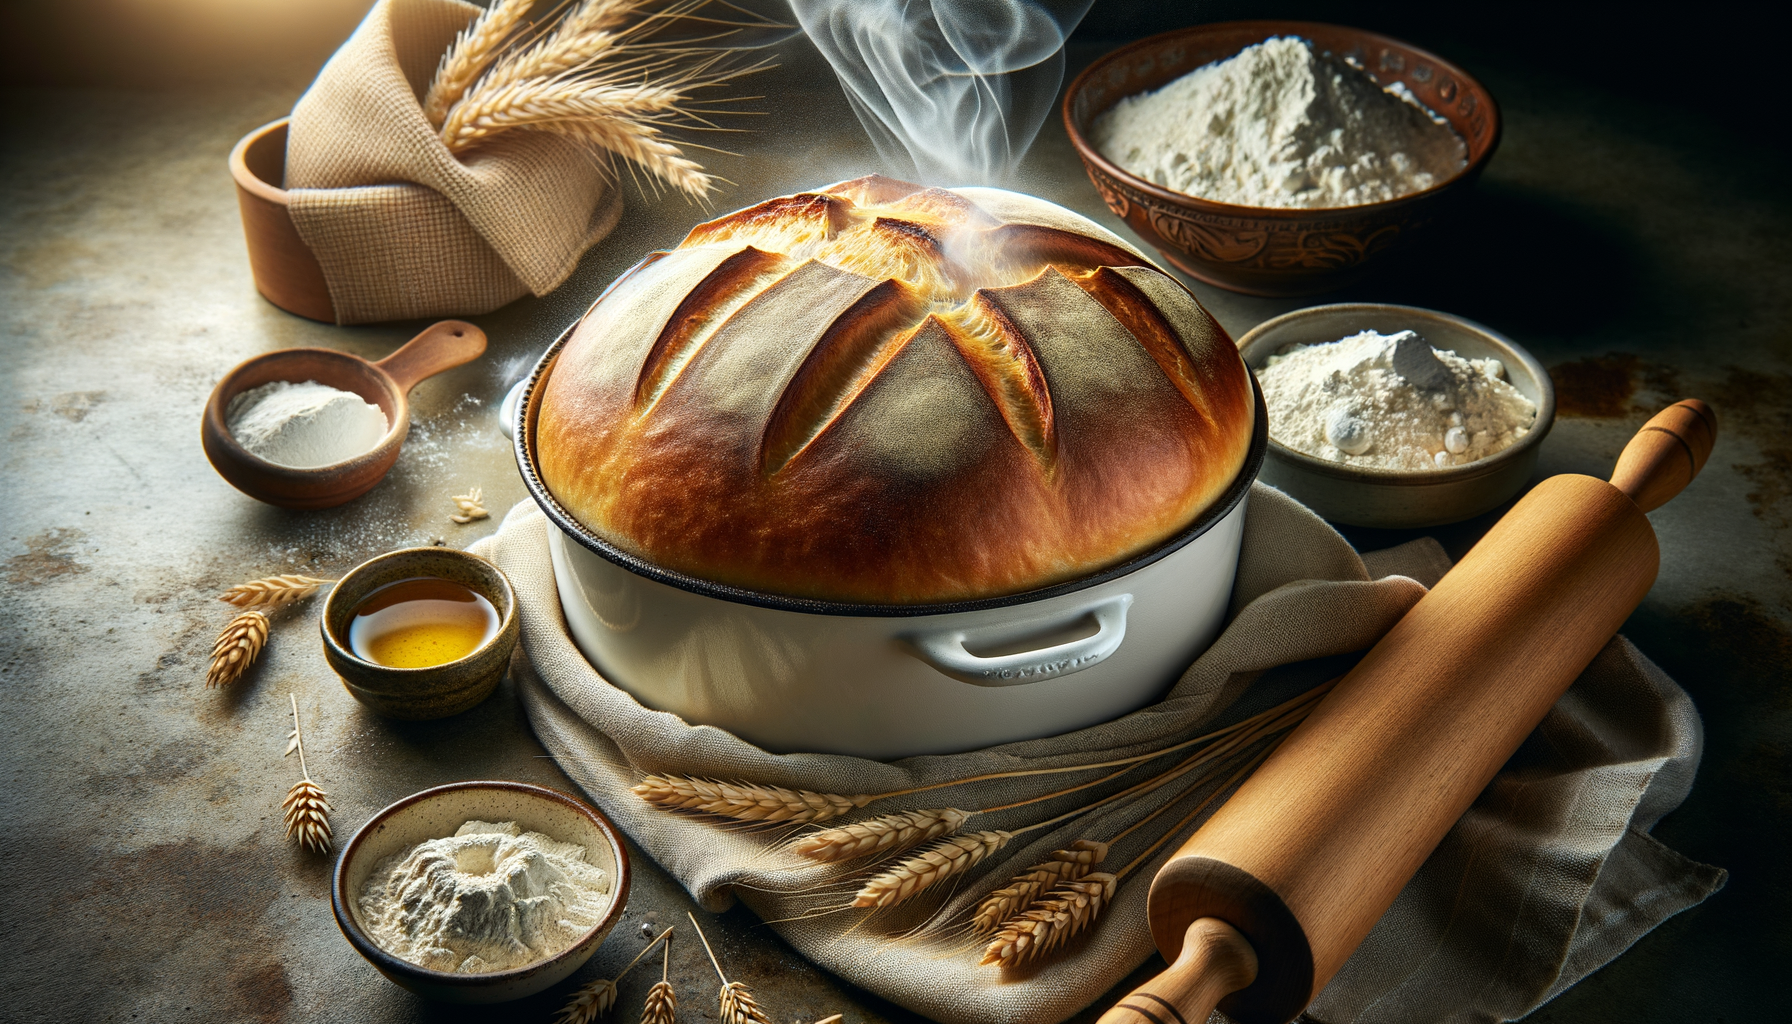
Yes, you can bake bread without a traditional loaf pan. Bread can be shaped and baked on a baking sheet, in a cast-iron skillet, on a pizza stone, or in a Dutch oven. The shape and baking method you choose will influence the crust and final shape of your bread. For instance, baking in a Dutch oven can help achieve a crusty exterior similar to artisan breads.
What is the purpose of kneading dough, and how long should I knead it for?
Kneading dough develops the gluten in the flour, which gives bread its structure and chewiness. Kneading time can vary, but it typically takes about 10-15 minutes by hand or 5-10 minutes with a stand mixer. The dough is usually kneaded enough when it’s smooth, elastic, and passes the “windowpane test,” where a small piece of dough stretched between your fingers becomes thin enough to let light pass through without tearing.
How long does it take for bread dough to rise?
The time it takes for bread dough to rise, or “proof,” can vary depending on several factors including the temperature of the environment, the type of yeast used, and the ingredients of the dough. Typically, the first rise, or bulk fermentation, can take anywhere from 1 to 2 hours. Some recipes call for a second rise after shaping, which can take an additional 1 to 2 hours. However, some recipes use longer fermentation times at lower temperatures to develop more complex flavors.
Does the quality of the flour I use affect the outcome of my bread?
Yes, the quality and type of flour you use can greatly affect the outcome of your bread. Higher protein flours, like bread flour, will create a higher rise and a chewier texture due to more gluten formation. Whole grain flours can add flavor and nutrients but may result in a denser loaf. Fresh, high-quality flour will provide better flavor and yeast activity.
What can I do if my homemade bread comes out too dense?
There are several factors that can contribute to dense bread: under-kneading, using flour with too low protein content, not allowing enough time for the dough to rise, or adding too much flour. To avoid dense bread, make sure you knead the dough thoroughly, use the right type of flour, and give the dough sufficient time to rise until it’s doubled in size.
Can I freeze homemade bread?
Yes, you can freeze homemade bread. It’s best to freeze it shortly after it has cooled to maintain freshness. Wrap the bread tightly in plastic wrap and then in aluminum foil or place it in a freezer bag to prevent freezer burn. Frozen bread typically keeps well for up to 3 months. Thaw at room temperature or in the oven when ready to eat.