
Creating the perfect crust on your homemade bread can be the crowning achievement for any baker. A crust that is crisp and full of flavor not only adds to the overall aesthetics but also to the texture and taste of the bread. In this detailed guide, we’ll walk through the various steps and tricks to achieving that perfect crust, ensuring that every loaf you bake is nothing short of a masterpiece.
Understanding the Science of Bread Crust
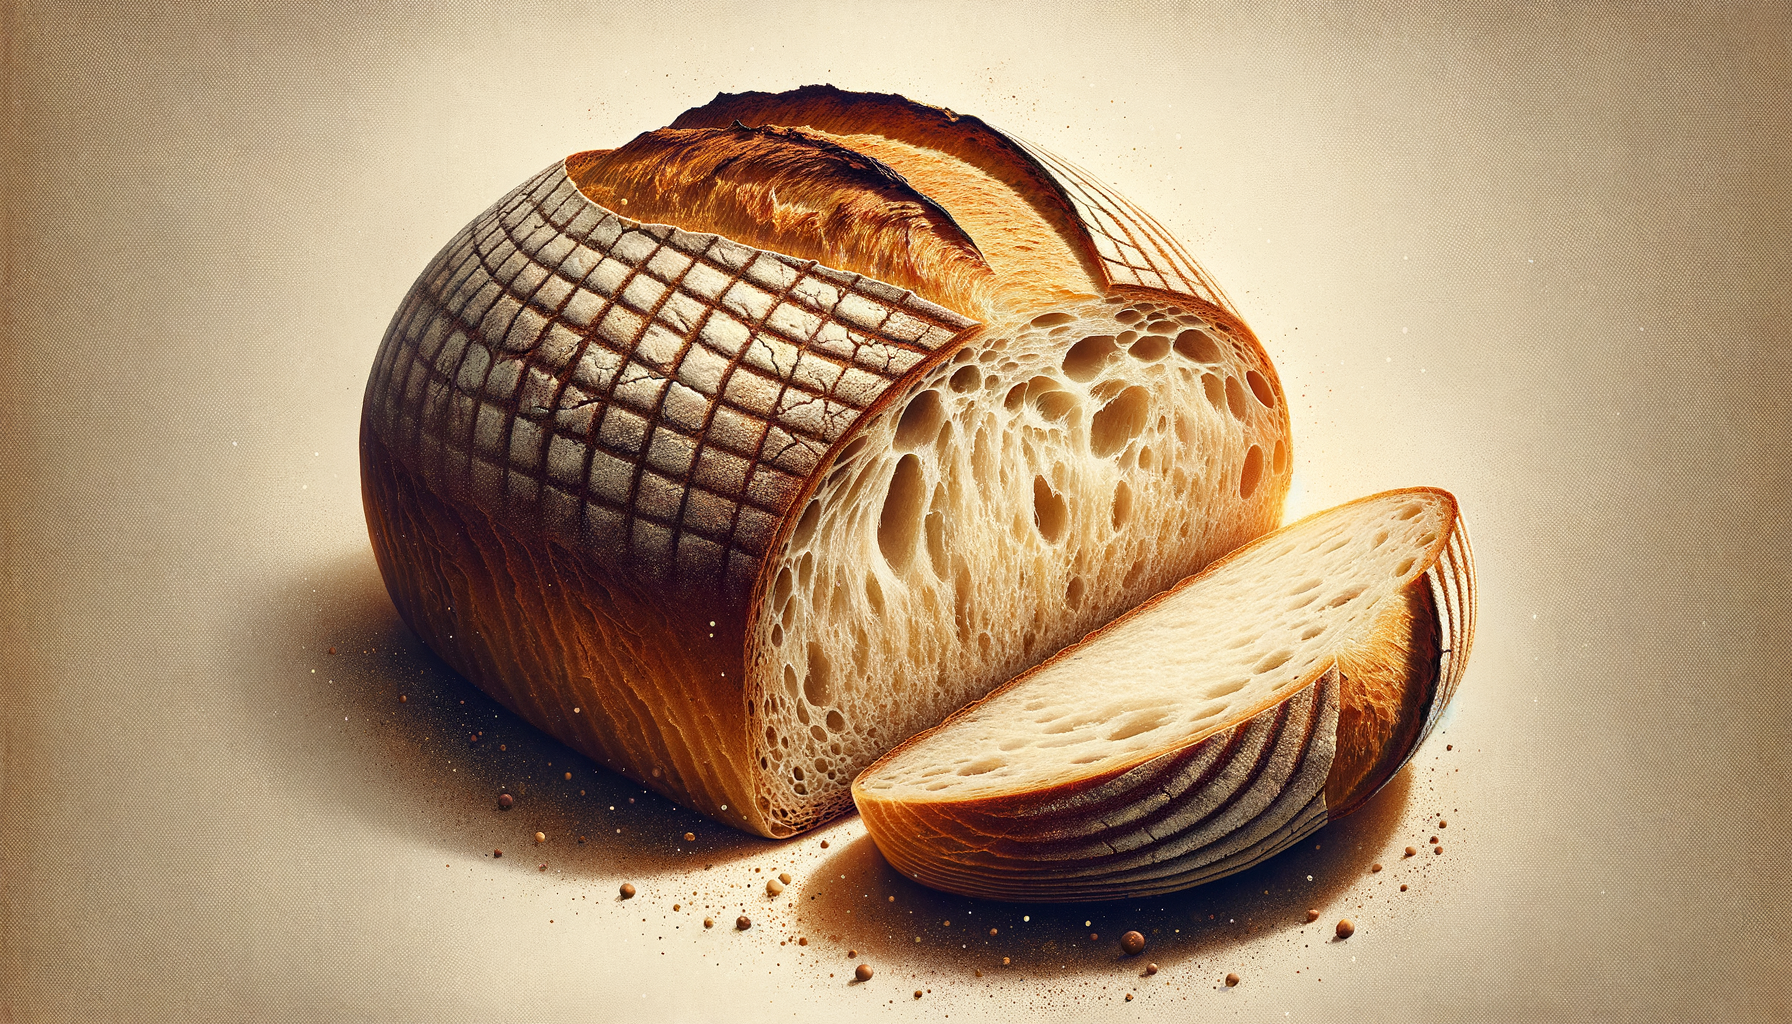
The crust of bread is a result of a complex series of chemical reactions known as the Maillard reaction and caramelization which occur during baking. When bread is baked, the heat causes the starches to gelatinize and sugars to break down and recombine with amino acids, leading to browning and the formation of new flavors and aromas. The crust also loses moisture and becomes hard and crisp.
Choice of Ingredients
Flour Selection
The type of flour you use can have a big impact on the crust. Bread flour, with its higher protein content, is ideal for developing a strong gluten network that traps gases and produces a well-risen loaf with a thick crust. Whole grain flours can also be used, which will result in a heartier, nuttier crust.
Hydration
Water content in your dough, also referred to as hydration, plays a pivotal role. Higher hydration doughs often lead to bread with a more open crumb and a thinner, crispier crust after baking. Artisan bread such as Ciabatta and Baguette typically has higher hydration levels.
Yeast and Salt
The right balance of yeast and salt is crucial. Salt not only flavors the bread but also strengthens the gluten structure and controls yeast activity, which can affect the crust formation.
Preparing Your Dough
Kneading
Developing enough gluten is essential for a good crust. Kneading your dough adequately leads to a strong, elastic gluten network which will support a good rise and contribute to a better crust.
First Rise or Bulk Fermentation
Allow the dough to rise until double in size. During this time, the yeast ferments the sugars in the dough, producing carbon dioxide gas and alcohol, which contribute to the flavor and final texture of the crust.
Shaping and Proofing
Shaping
How you shape your bread can affect how the crust develops. Tension on the surface of the loaf, achieved by proper shaping techniques, will help in the formation of a good crust.
Proofing
The final rise before baking is crucial for a good crust. Over-proofed bread can lead to a thick and hard crust, while under-proofing can result in a soft and pale crust.
Oven Temperature and Preheating
Baking at the right temperature is key for crust development. Most bread is baked at high temperatures, at least initially, to enable a quick rise before the crust hardens. Preheating your oven is fundamental to ensure your bread starts baking immediately and at the correct temperature.
Steam and Baking Techniques
Introducing steam into the oven at the beginning of the baking process is essential for a good crust. Steam delays crust formation, allowing the bread to expand fully and also gelatinizes the dough’s surface, which contributes to a crispier crust.
Creating Steam
There are several ways to introduce steam into a home oven:
– Ice cubes or water can be placed in a preheated cast-iron skillet or baking tray at the bottom of the oven.
– Spraying the oven walls with water using a spray bottle, being careful not to hit the oven light or glass door.
– Using a ceramic bread cloche or Dutch oven that traps moisture evaporating from the dough.
Baking Stones and Steels
Using a preheated baking stone or baking steel can help to replicate the effect of a professional bread oven, giving a better ‘oven spring’ and crust.
Evaluating and Adjusting
Color
The color of your bread’s crust can tell you a lot about the bake. You want a deep golden-brown color, which indicates that the Maillard reaction and caramelization have taken place effectively.
Texture
After baking, the bread should have a firm crust. Thumping the bottom of the loaf should produce a hollow sound, indicating that it is fully baked.
Taste
Once the bread has cooled, the crust should be crisp and the flavor should be well-developed, a blend of sweet, nutty, and toasty notes.
Common Problems and Solutions
– If your crust is too thick and hard: Try reducing baking time or temperature, or increase the humidity in the oven during the initial baking phase.
– If the crust is too pale: Ensure the oven is reaching the correct temperature and is preheated sufficiently; you might also position the bread in a higher rack or extend the baking time.
– If the crust softens after baking: This can be due to insufficient cooling or slicing the bread before it has completely cooled.
Special Tips and Tricks
– For a shinier crust, brush your loaf with an egg wash before baking.
– For added flavor and texture, consider incorporating seeds or oats on the crust before baking by pressing them gently into the dough.
– To achieve a thick, chewy crust like on bagels, consider “par-baking” your bread – partially baking, then cooling and finishing the bake later.
Storing Your Bread
To maintain the quality of your crust, store your bread at room temperature in a paper bag or bread box for a short period. For longer-term storage, freezing the bread is the best option.
Final Thoughts
Achieving the perfect crust on your bread is an art that combines precise techniques with a bit of science. It requires patience, practice, and attention to detail. By controlling your ingredients, understanding the baking process, and mastering the use of steam and oven temperature, you’ll be able to consistently produce loaves with truly spectacular crusts.
Remember, bread baking is a journey. Each batch is an opportunity to refine your method and discover what works best in your unique baking environment. Don’t be disheartened by less-than-perfect results – consider them learning experiences on the path to perfection. Embrace the process, and soon, you’ll be enjoying the wonderful aroma and the unmatched satisfaction of slicing into your homemade bread, complete with that splendid, mouthwatering crust.
Frequently Asked Questions
What are the key factors in developing a good crust on bread?
Several key factors contribute to developing a good crust on bread, which include the oven temperature, steam, baking time, and dough hydration. A hot oven helps set the crust quickly, while steam in the initial phase of baking can improve the crust’s thickness and color. Baking time must be adjusted to ensure that the crust is fully developed without burning, and dough with higher hydration often results in a crispier crust.
How does oven temperature affect the bread’s crust?
Oven temperature plays a significant role in crust development. A high temperature, typically between 450-475°F (232-246°C), is ideal for most types of bread to achieve a crispy and well-colored crust. It helps in the initial expansion or “oven spring” and contributes to the Maillard reaction, which gives the crust its appealing golden-brown color.
Why is steam important when baking bread?
Steam is crucial during the initial minutes of baking as it helps keep the surface of the dough moist, allowing it to expand freely, creating a lighter interior crumb and a better-formed crust. Furthermore, it aids in the gelatinization of starches on the bread’s surface, contributing to a shiny and crispier crust.
Can you obtain a good crust when baking bread in a home oven?
Yes, it is possible to achieve a good crust when baking bread in a home oven. To mimic professional baking conditions, you can create steam by using a baking stone, preheating the oven to a high temperature, and using a pan with boiling water placed at the bottom of the oven, or spraying the oven walls with water at the start of the baking process.
How does dough hydration influence the crust?
Dough hydration, the ratio of water to flour in the dough, affects the crust’s outcome. Higher hydration doughs typically lead to a crispier crust as the water turns into steam during baking, creating a lighter, airier crumb and contributing to the “crunch” of the crust. However, they can be more challenging to handle and may require different baking techniques.
What type of flour is best for a crunchy crust?
Bread flour, which is higher in protein than all-purpose flour, is often recommended for making bread with a crunchy crust. The higher protein content helps with gluten development, which can result in a chewier and more robust crust. Whole grain flours can also contribute to a heartier crust due to their additional fiber and texture.
Is it necessary to score the bread dough before baking?
Scoring, or making shallow cuts on the surface of bread dough before baking, is important as it controls the direction in which the bread will expand during oven spring. This not only helps in getting a good crust but also prevents the bread from bursting at weak spots, thus contributing to an even and aesthetic final product.
What is the best way to store bread to maintain its crust quality?
To maintain its crust quality, bread should be stored at room temperature in a paper bag or a bread box to allow air circulation, which prevents the crust from becoming too soft and chewy. Storing bread in plastic can trap moisture and soften the crust. If the crust becomes soft, briefly reheating the bread in an oven can help to recrisp the crust.
Do different baking vessels create different types of crust?
Yes, different baking vessels can influence the type of crust on bread. For instance, using a Dutch oven can trap steam around the bread, creating a thick and chewy crust, whereas baking on a pizza stone or steel yields a thinner and crisper crust due to direct heat. The choice of baking vessel largely depends on personal preference and the type of bread being baked.
How can you fix a bread crust that is too thick or too dark?
If your bread crust is too thick or too dark, consider reducing the oven temperature slightly, baking the bread for a shorter duration, or placing a foil tent over the bread once the desired crust color is achieved to prevent overbrowning. Ensure sufficient steam during the initial baking phase to prevent the crust from setting too quickly and becoming overly thick.